From Pinterest fail to party favorite, smash away your stress with these piñata ideas.
Mommyhood101 independently tests and curates baby gear to help you make informed decisions. If you buy products through links on our site, we may earn a commission.
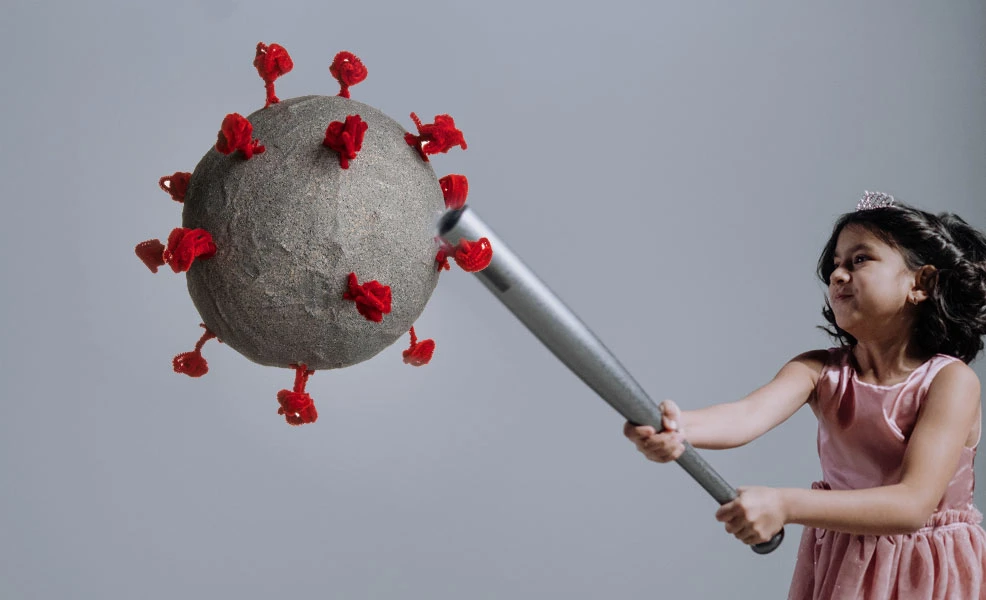
Looking for a way to vent your frustration about the coronavirus? Check out this easy-to-make coronavirus piñata that will let you bash and smash the virus to reveal a delicious treat inside!
Perfect for birthdays, graduations, and socially-distanced gift giving, this takes just a couple hours to make and will keep the kids busy and entertained for hours trying to get at the candy inside! All you need is flour, water, newspaper strips, a balloon, paint, and a string. And something fun to put inside!
The Coronavirus Piñata
The novel Coronavirus has put a damper on end-of-schoolyear celebrations and birthday parties over the last several months.
Our son recently had a birthday and was super disappointed that we couldn’t go anywhere or have people over. As he voiced his frustration with the coronavirus, we started thinking of healthy, fun, and tasty ways to let off some steam!
Here's a fun idea: make a coronavirus piñata! What better way to get out your pandemic frustration than by making (and then subsequently breaking) a coronavirus piñata? With just a few household supplies, you can easily make your own. This is such a fun activity and one that kids of all ages can have a great time getting involved in!
This project involves several parts: Part 1 involves making a papier mache ball by covering a blown-up balloon with cut up newspaper and “glue” mix. This step will be repeated several times to ensure that the structure will be strong enough to withstand puncturing the balloon and filling it with candy. Part 2 involves puncturing the balloon, filling it with candy, and then covering it with another layer of paper mache. Part 3 involves painting the structure. You can paint it any color. We chose a dark gray, but it could be anything! Part 4 is putting little “spores” of red tissue paper all over the ball. And voila – you have a coronavirus piñata! Now let’s go through those steps in more detail.
Supplies to Make the Piñata:
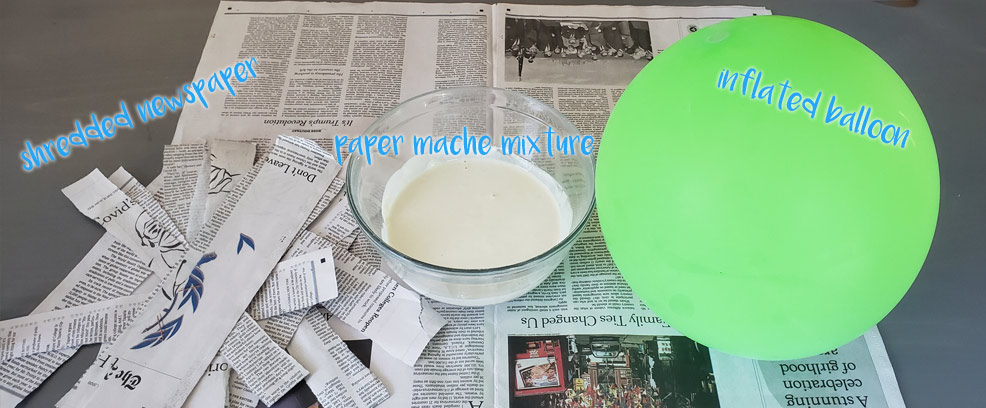
- Newspaper, cut or ripped into strips.
- 1 inflated balloon (air or helium)
- Flour and Water
- Paint (we chose grey) and Paintbrush
- Colored tissue paper (we chose red)
- Tape (clear is great)
- Candy! (optional)
- Yarn or Ribbon for hanging (optional)
Step 1: Making Paper Mache
The first step of this project is to make the “glue” for the papier-mâché (the fancy way to say paper mache).
Mix 1 part flour with 2 parts water. We started with 1 cup of flour mixed with 2 cups of water. Stir this mixture until there are no more lumps. We used a beater on low but you could also use a whisk or even just a spoon.
The consistency should be goopy, similar to a thin pancake mix. If your child has sensitive skin, you can use gloves to protect your child’s hands.
Step 2: Wrapping the Balloon
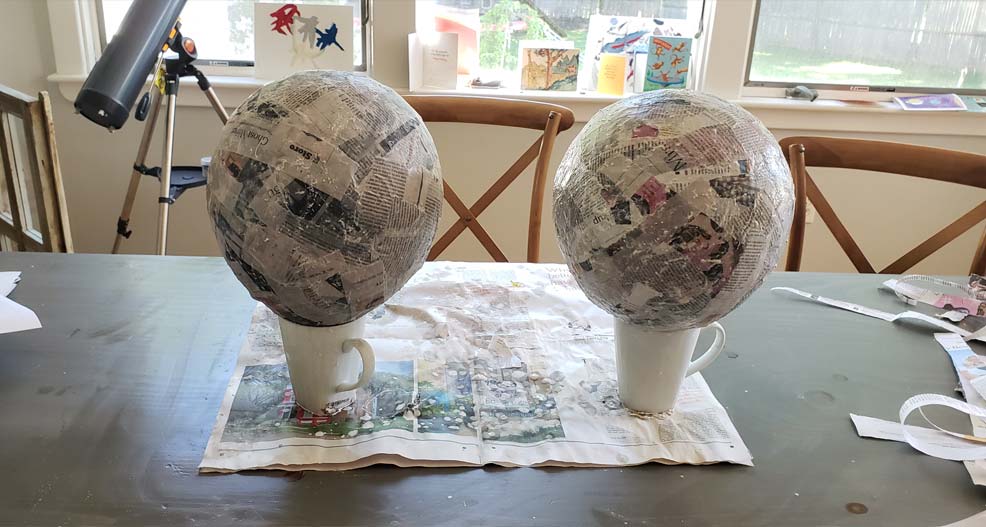
Prop your balloon up on a cup or mug, so you can start covering it in newspaper without it rolling away.
Dip a newspaper strip into your flour glue mixture. Wipe off excess glue and wrap the newspaper onto the balloon.
Use your hands to smooth out the newspaper to try to get the bumps out.
Repeat this process until you’ve covered the whole balloon, crisscrossing pieces of newspaper.
Important: Don't cover the entire balloon with paper mache yet! If you want to be able to fill it with something (like candy), leave a leave a small area by the balloon’s “belly button” uncovered. This will give you access to stuff it with candy after it dries.
Leave your creation out to dry. We flipped it upside-down so that the balloon's belly button was facing down into the cup, leaving the wet paper mache facing up.
Indoors, it may take a full day for this to dry. We put it outside in the sun and it took about 2 hours.
Here is what ours looked like while drying:
Step 3: Repeat Steps 1 & 2
If you want a strong piñata that can hold a bunch of candy, hang by a string, and take a little while to bash to pieces, then put a second (and even third) layer of paper mache on it.
Step 4: Pop & Fill!
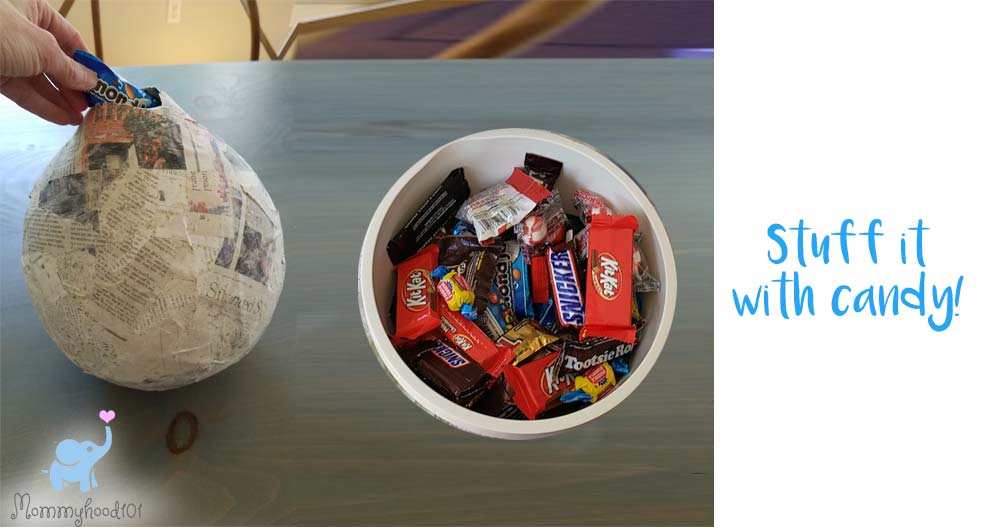
Your creation should feel pretty firm after 2-3 layers of papier-mâché. Once it is completely dry and hardened, you should be ready to take a pair of scissors and cut the balloon’s belly-button off.
Now you can fill your piñata with candy (and confetti, if you want)!
Step 5: Seal the Hole!
Find a string or rope. Something string enough to support the weight of the piñata that's now filled with candy.
Put a large knot on one end, or tie something solid to one end, like a wooden craft stick. This should help secure the string when the piñata is hanging up.
Repeating steps 1 and 2, patch up the hole and secure the string into the ball with the papier-mâché.
After this is dry (we suggest not putting it out in the sun to dry, or you might melt the candy inside!), check to make sure the area where the rope pops out feels firm. If not, papier-mâché it one more time.
Step 6: Paint it!
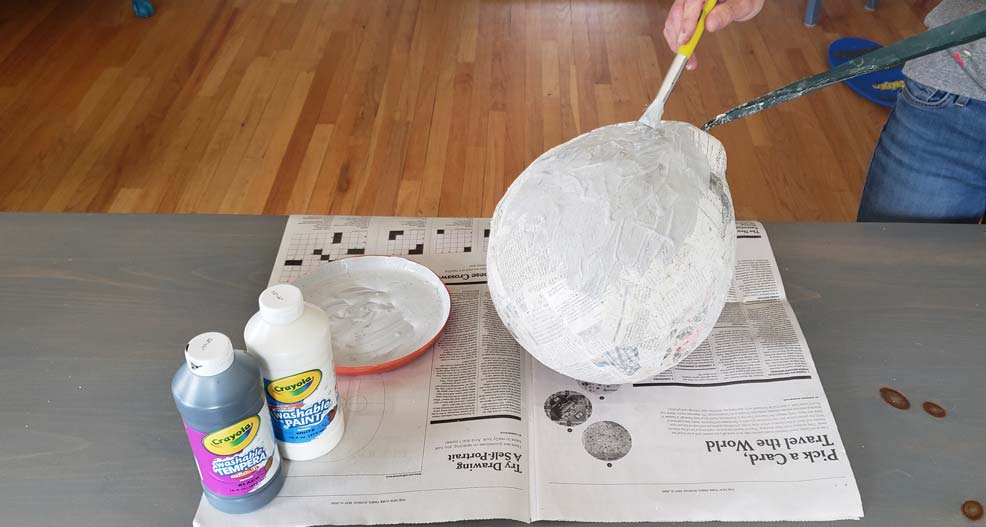
Most illustrations of the coronavirus show it as grey or silver, with red spores sticking out from it. We went for that look, but you can be as creative as you want with this step!
For our first one, we painted it grey (in the picture above). Our next one (yup- it was so much fun that we made another one as a birthday gift!), we painted it with a monster face.
You migth want to put it on a mug or cup during this step as well, which will help with the paint getting everywhere!
Step 7: Decorate it!
You're almost done!
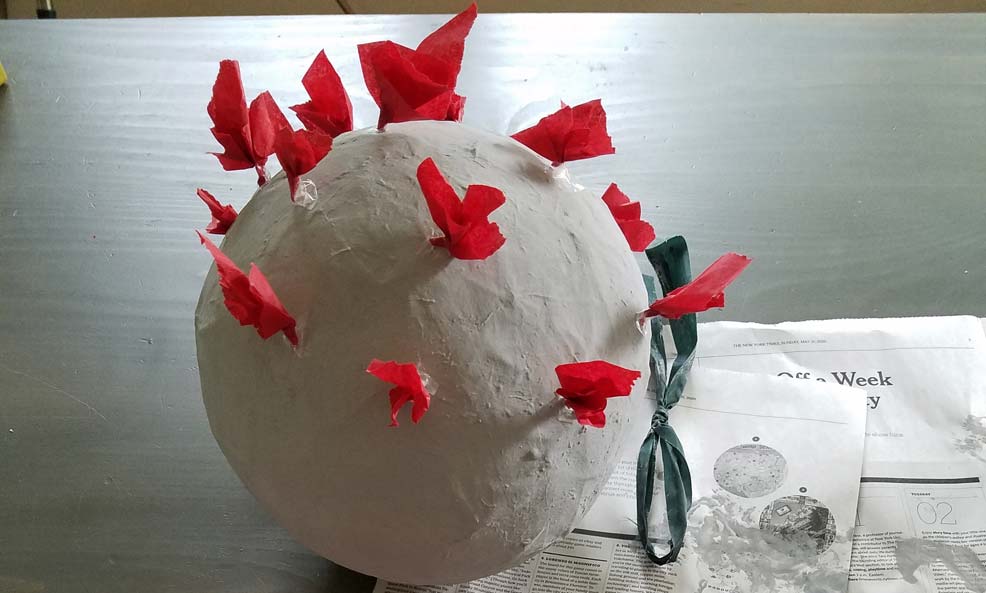
Once your painted coronavirus ball is dry, it's time to add the spores. They're not really called spores, they're called viral surface proteins, but they look like spores so we'll stick with that.
We ripped off pieces of red tissue paper and crushed them into little flower shapes, added tape to the bottom and stuck them onto our coronavirus piñata.
Keep going until you have the little spores (proteins!) all over the ball.
Step 8: Hang it and Bash it!
It's piñata time! Have fun hitting, bashing, crushing, and ripping it apart!
Since it has a balloon in the middle, it will be surprisingly resilient. If you're dealing with little kids and want it to break open relatively easily, you might want to omit the extra layers of paper mache.
Also - remember, if this turns out to be a total Pinterest FAIL, you're not alone! Even the one we photographed didn't look amazing. We're not artists, and not super crafty, but either way it's fun to make, a great project to keep the kids busy and happy, and leads to quite a bit of fun in the end!
So even a Fail is a Win!


