Stop odors in their tracks by finding the perfect diaper pail for your family.

Mommyhood101 independently tests and curates baby gear to help you make informed decisions. If you buy products through links on our site, we may earn a commission.
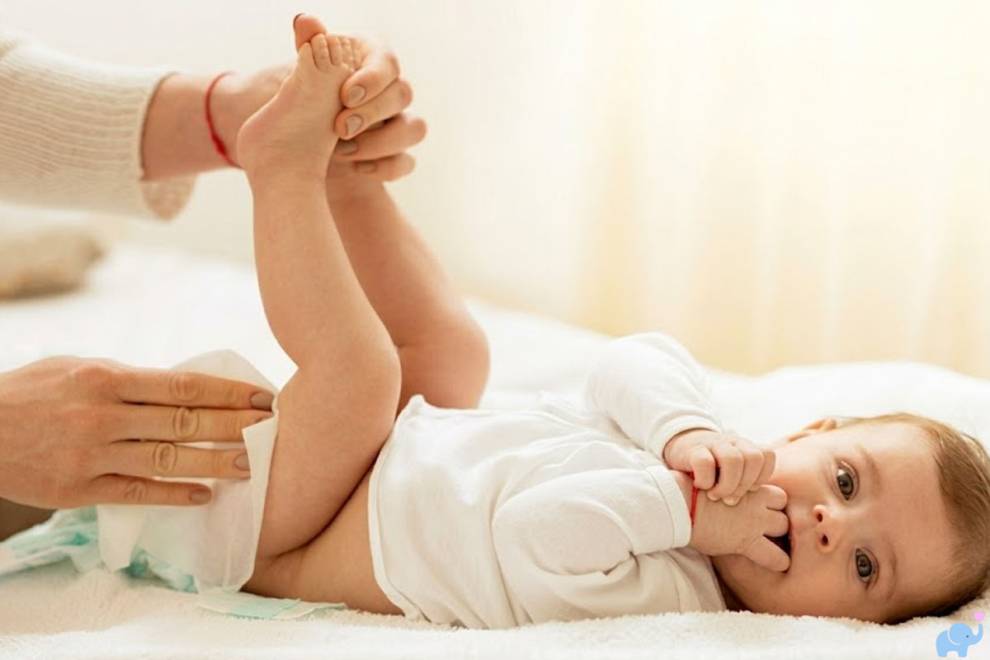
Bringing home a newborn baby comes with many lifestyle changes. New parents must adapt to newborn standard time, catching sleep when the baby naps, keeping track of feedings, and taking care of someone else’s… business.
According to Johns Hopkins Medicine, after the baby’s fifth day of life, parents can expect an average of six or seven wet diapers and at least three soiled diapers per day. This diaper-changing rate continues for the next few weeks before tapering off. After about a month, parents should expect four to six wet diapers per day and fewer soiled ones. Investing in some of the best disposable baby diapers can help reduce leaks and make changes more efficient.
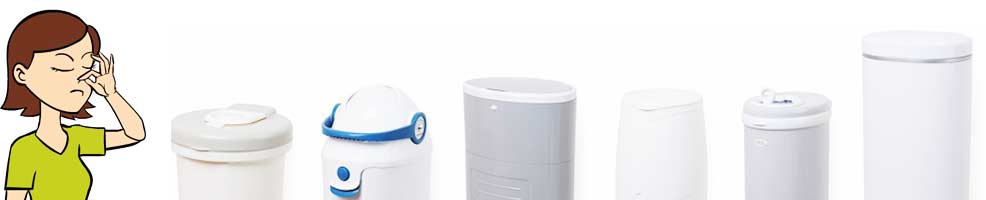
With so many diaper changes, a good disposal system is essential. While some families use a household trash bin, most find it inefficient and unsanitary. A dedicated diaper pail helps control odors, reduce germs, and make cleanup simpler.
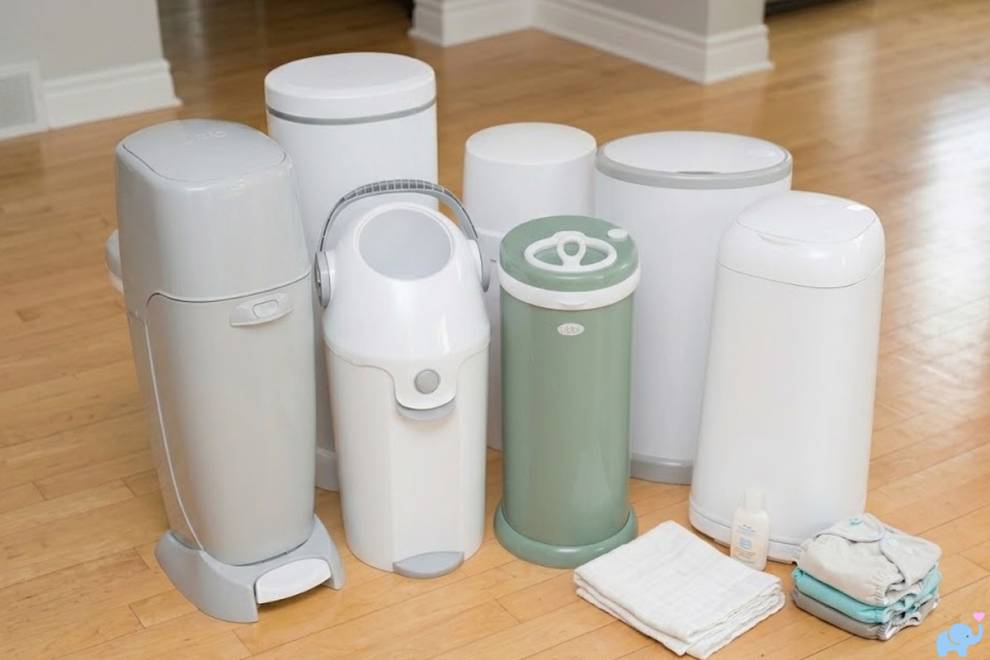
How to Pick a Diaper Pail: Materials Matter
Managing diaper waste isn’t glamorous, but it’s an important part of daily life. Choosing the right diaper pail material, typically plastic or metal, can make a big difference in odor control, durability, and cost.
Plastic Diaper Pails
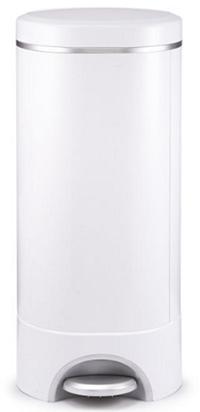
- Pros: Plastic diaper pails are the most common and affordable option. Most of the top-rated diaper pails on our list are made of plastic. They come in various sizes, shapes, and colors, and often include extra features like foot pedals or twist locks.
- Cons: Over time, plastic can degrade and absorb odors. Hinges and moving parts may snap or wear out faster than metal components, especially with frequent use.
Metal Diaper Pails
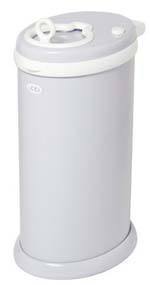
- Pros: Metal diaper pails are sturdy, odor-resistant, and often longer-lasting than plastic. Many, like the Ubbi Steel Diaper Pail, allow you to use standard kitchen garbage bags, saving money over time.
- Cons: They tend to be smaller and more expensive. Metal models usually have fewer convenience features, like pedals or clamps.
Plastic vs. Metal Comparison
| Feature | Plastic | Metal |
|---|---|---|
| Average Price | $30–$60 | $50–$100 |
| Odor Resistance | Moderate | Excellent |
| Durability | Good | Excellent |
| Available Features | Many (pedal, clamp, twist) | Fewer |
How to Choose the Right Diaper Pail Size
Depending on capacity, diaper pails can hold between 15 and 50 diapers. The average pail fits about 35–40 diapers, plus wipes and liners (see our favorite baby wipes here). Newborns can go through over ten diapers a day, so smaller pails may need daily emptying, while larger ones can last several days.
Families in multi-story homes may want a large pail for the main nursery and a smaller one on another floor to avoid constant trips while juggling diaper duty.
Budget and Features
Diaper pails range from about $30 to $100. Plastic models sit on the lower end, while stainless steel or feature-rich options cost more. Higher-end pails may include foot pedals, odor filters, or clamp systems for convenience and hygiene.
Diaper Pail Liners: Pros, Cons, and Costs
Many diaper pails use proprietary liners, which are plastic sleeves or ring inserts that hold waste securely.
- Pros: Liners are easy to find online and in stores. They’re designed to trap odors and prevent leaks, and some are even lightly scented. Generic refill rings can save money by fitting multiple brands.
- Cons: Replacement liners add ongoing costs. Some thin liners may tear, creating extra mess and expense. Pails that allow standard garbage bags, like the Ubbi, can help you avoid this issue.
Helpful Diaper Pail Features
Clamps
Internal clamp systems control odor and reduce spills. They close tightly after each diaper drop, then reopen with a pedal or push. The main drawbacks are occasional difficulty pushing diapers through and potential mechanical wear over time.
Foot Pedals
Foot pedals make diaper changes easier and more hygienic, with no hands needed! Many of our favorite diaper pails feature durable foot pedals, though cheaper plastic ones can eventually weaken or snap.
Odor Filters
Some pails include built-in odor filters or antimicrobial discs. If yours doesn’t, you can buy refill filters separately to boost freshness and reduce bacteria buildup.
Child Safety Locks
As your baby grows curious and mobile, child safety locks become essential. Many models feature two-handed twist locks or foot-pedal mechanisms that prevent access to soiled diapers or wet pails.
What About Cloth Diapering?
Families using cloth diapers also need a reliable storage system. Cloth diapers should be kept separate from regular laundry for health and odor reasons.
Pro tip: Even if you use cloth diapers, a dedicated diaper pail with a tight seal will help control odor and prevent accidental spills. Both plastic and metal pails work well.
Dry Pail Method
- Setup: Use one diaper pail, ideally lined for easier cleaning. Wash and sanitize frequently to prevent bacteria buildup.
- Odor Control: Sprinkle baking soda at the bottom and between diapers, or layer fabric softener sheets to absorb smells.
- Waste Prep: Pour excess liquid waste into the toilet. Once solids begin, shake or rinse them off before storing the diaper.
- Layer Separation: Separate cloth and waterproof layers before washing to ensure proper cleaning.
- Laundering: Empty and wash every 48 hours. Start with a cold rinse, then launder normally.
Wet Pail Method
- Setup: Use one lined pail filled halfway with cold water. Add baking soda, essential oils, or vinegar for deodorizing.
- Waste Prep: Remove solids and rinse before soaking. Use locking lids to prevent spills and ensure baby safety.
- Laundering: When full, dump the entire contents into a top-load washer. For front-loaders, drain water first with a spin cycle, then wash hot.
- Clean the Pail: Rinse and disinfect after each use to prevent buildup.
Combination (Dry/Wet) Pail Methods
- One-Pail Combo: Rinse soiled diapers, then store slightly damp in a dry pail. Offers odor control without standing water but requires frequent washing.
- Two-Pail Combo: Store wet diapers in a dry pail and soiled ones in a wet pail. Ideal for larger families or those washing multiple loads. Downsides include extra space needs and cost for two bins.
Diaper Pail Safety Checklist
✔ Keep lids tightly closed when not in use.
✔ Empty and sanitize every 1–2 days.
✔ Use child safety locks once your baby becomes mobile.
✔ Avoid standing water in wet pails to prevent drowning hazards.
✔ Store diaper pails away from play areas.
Frequently Asked Questions
- Do diaper pails really control odor? Yes, but quality varies. Models with clamps, carbon filters, or odor-resistant steel perform best.
- Can I use regular trash bags in my diaper pail? Some allow it (like the Ubbi), but others require brand-specific liners.
- What’s the best diaper pail for cloth diapers? Look for one with a removable liner, large capacity, and locking lid for safety and convenience.
- How often should I empty it? Daily for smaller pails or every 2–3 days for larger ones.